How to install toilet seat
2023-08-11
How to install toilet seat
1. Bathroom decoration toilet installation process - drilling
After determining the installation position of the toilet, align the sewage outlet at the bottom of the toilet with the sewage pipe opening on the ground, and then draw the position of the fixed hole at the bottom corner of the toilet on the ground according to the outer size of the toilet base, and drill the hole with an impact drill. The depth of the hole is generally About 5cm.
2. Bathroom decoration toilet installation process - toilet positioning
After the hole is finished, knock the steel expansion bolt into the hole, put it into the bottom corner of the toilet, and tighten the nut to position the toilet. Note: The sewage outlet of the toilet and the sewage pipe on the floor of the toilet should be closely connected together and need to be sealed.
3. Bathroom decoration toilet installation process - fixed toilet
According to the height of the purchased toilet tank and the position of the holes on the back wall of the water tank, find the fixed position of the toilet on the wall and drill holes, and then knock the steel expansion bolts into the holes, and the water tank will be in place to make the holes on the back wall Insert the expansion bolt, add a 3mm thick nylon washer, put on the nut and tighten it. (If it is a one-piece flush toilet, this step can be omitted.)
4. Bathroom decoration toilet installation process - connecting pipe installation
After the water tank is installed, you can start to install the connecting pipe between the water tank and the toilet base, and the connecting pipe between the water inlet pipe and the bottom of the water tank for water supply. Remember to install an angle valve at the connection of the water inlet pipe, that is, a control valve!
5. Bathroom decoration toilet installation process - accessories installation
Install the float, water scoop and other accessories in the water tank.Get the toilet seat ready
6. Bathroom decoration toilet installation process - detection of water spray size
After the accessories in the water tank are installed, they need to be tested. Open the water inlet valve, observe the required water inlet height in the water tank, adjust the height of the float scoop, and adjust the tightness of the control screw according to the water spray size of the water spray valve.
7. Bathroom decoration toilet installation process - detection of sewage effect
After completing the inspection of the accessories in the water tank, you can check the sewage discharge effect of the toilet and whether there is water leakage at the connection between the pipes, etc.
8. Bathroom decoration toilet installation process - sealing work
After the inspection is completed and everything is confirmed to be correct, materials such as putty or silica gel can be used to seal the gap between the toilet base and the ground. (Note: Do not use cement slurry, cement mortar and the like as sealing materials here!)
9. Bathroom decoration toilet installation process - install the seat ring and toilet cover
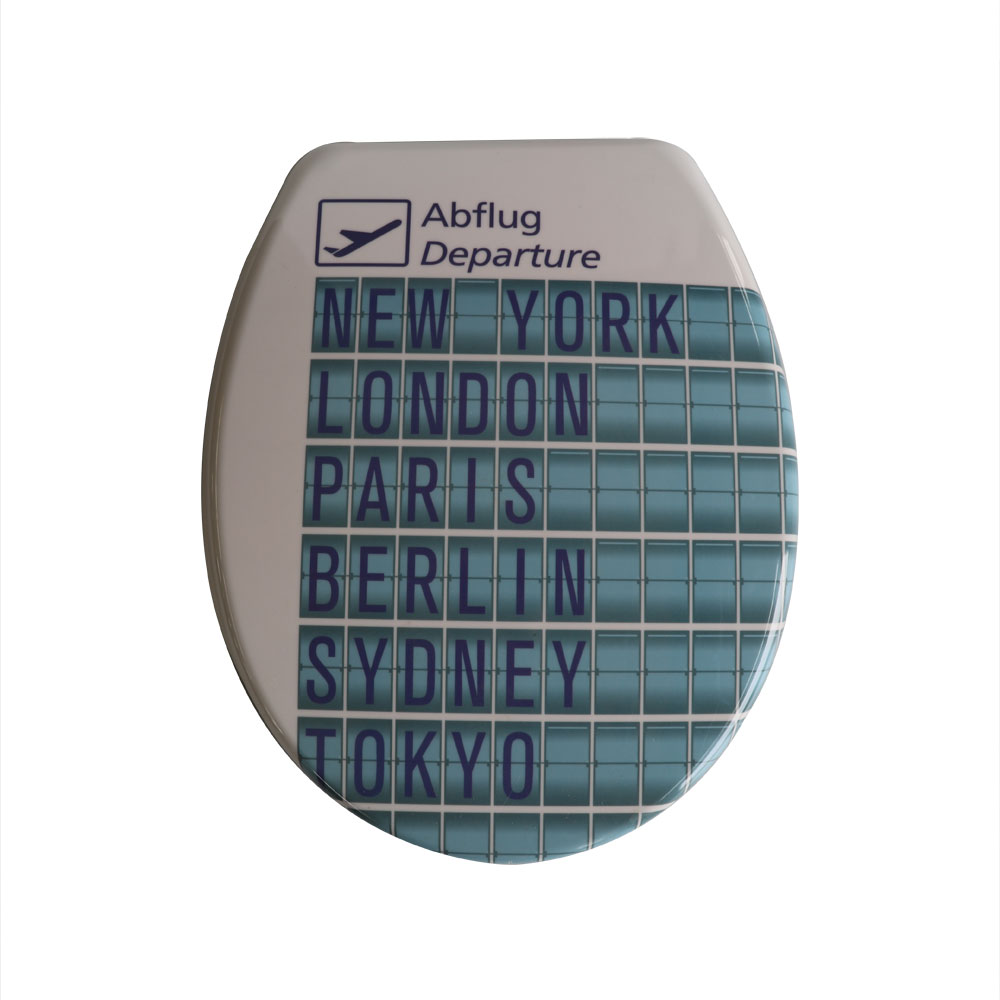
Install the toilet seat and toilet cover.
So far, the flush toilet has been installed.


